

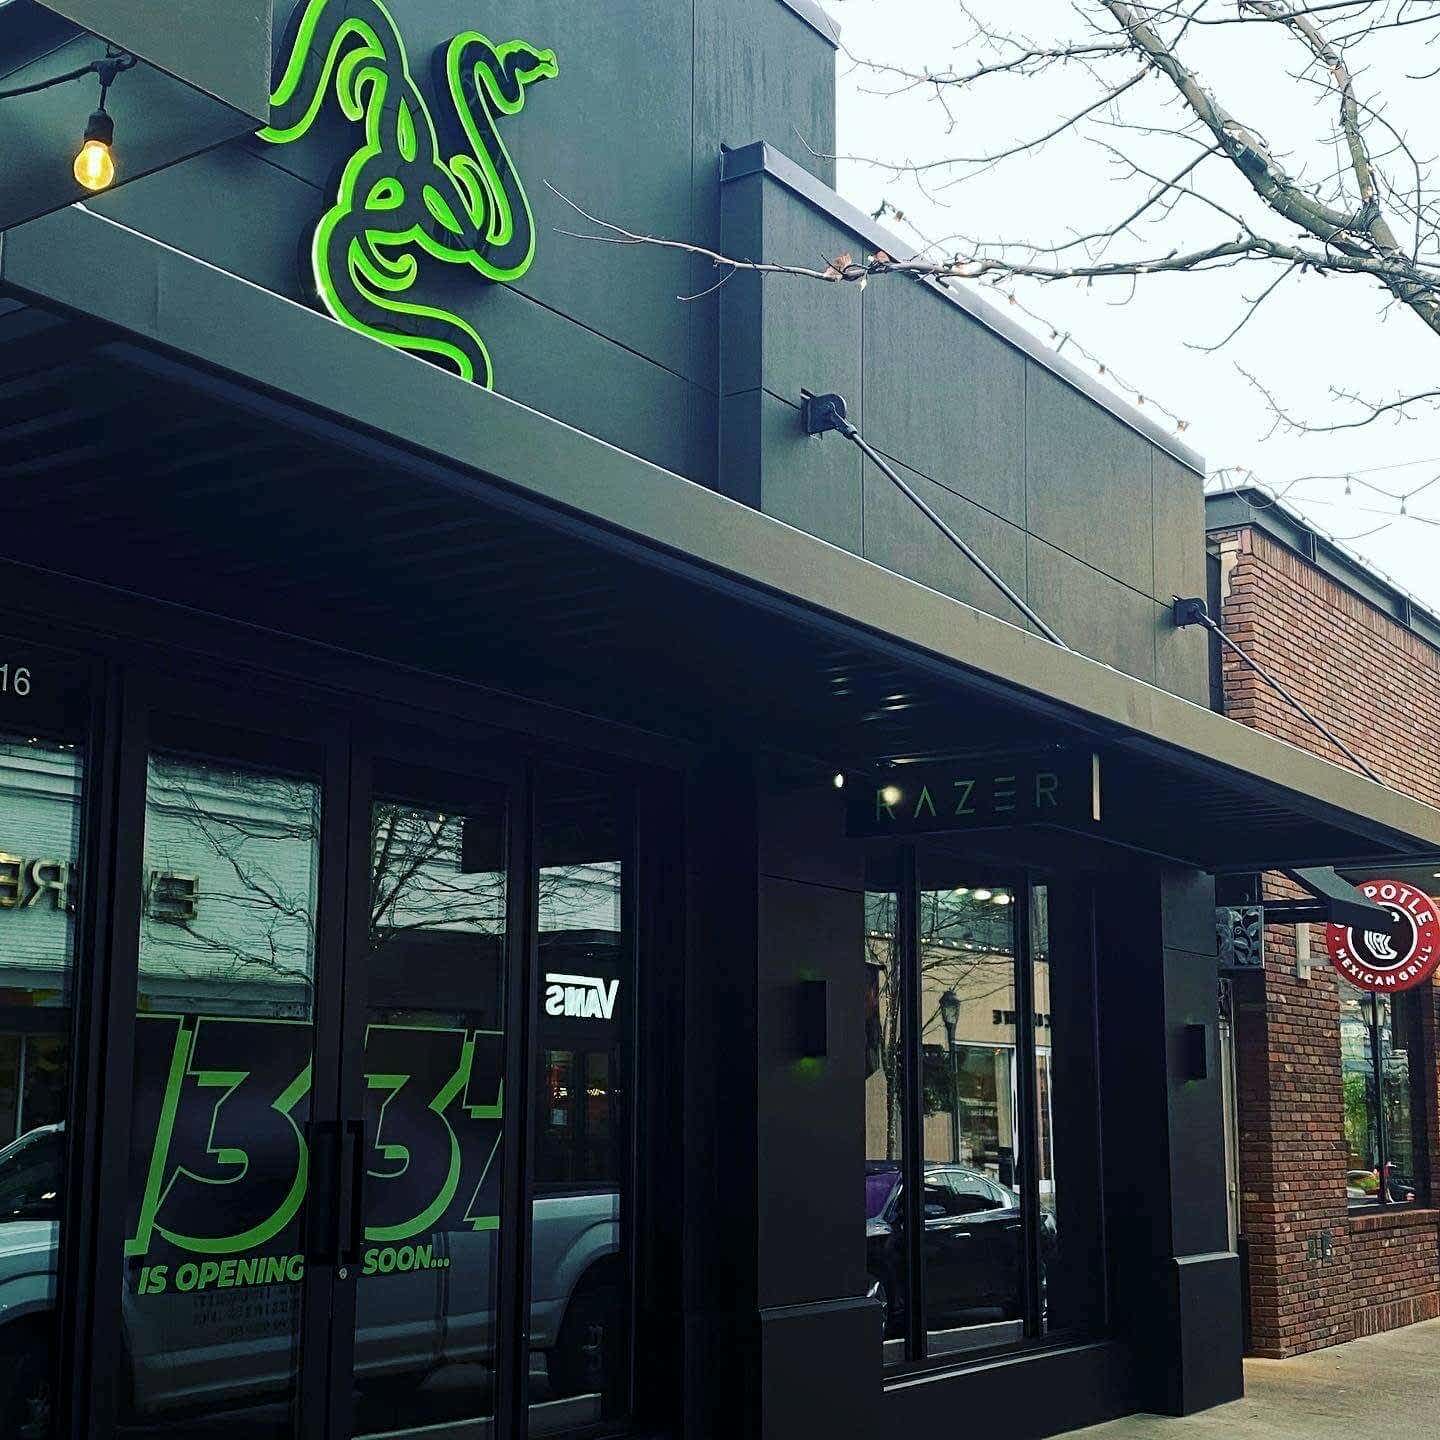
A well-planned commercial painting project can enhance your business's appearance, create a welcoming environment for customers, and protect your property from wear and tear. However, proper preparation is key to ensuring a smooth, efficient, and high-quality paint job. At Paintzone, we specialize in commercial painting services in Seattle, WA, and the Greater Seattle area. This checklist will help you prepare your business for a flawless commercial painting experience.
Table of Contents
Why Proper Preparation is Essential
Failing to prepare adequately can result in delays, additional costs, and a poor-quality finish. Proper prep ensures:
Minimal disruption to daily operations
Protection of valuable assets and equipment
Efficient workflow for painters
Long-lasting, high-quality results
Now, let’s dive into the step-by-step checklist to get your business ready for painting.
Step 1: Plan the Painting Project Timeline
A commercial painting project can disrupt business operations. Planning ahead can help minimize downtime. Here’s how:
✔ Schedule painting during non-peak hours – Weekends, evenings, or holidays may be best for minimal disruption.
✔ Communicate the timeline with employees and customers – Inform staff and clients in advance to manage expectations.
✔ Factor in drying and curing times – Most paints dry within hours, but full curing can take days.
✔ Plan for potential weather conditions (for exterior painting) – Weather can affect drying time and overall results.
Step 2: Protect Your Business Assets
Before the painters arrive, take steps to protect your equipment, furniture, and valuable items:
✔ Move or cover furniture and equipment – Relocate small items and cover large fixtures with protective sheeting.
✔ Use drop cloths or plastic coverings – Protect floors, carpets, and workspaces from paint splatter.
✔ Safeguard electronics and sensitive materials – Cover computers, printers, and important documents.
✔ Ensure clear pathways for painters – A clutter-free workspace allows for a more efficient painting process.
Step 3: Clean & Prepare the Walls and Surfaces
Paint adheres best to clean and properly prepped surfaces. Here’s what you can do:
✔ Dust and wipe down walls – Remove dirt, grease, and stains to ensure smooth paint application.
✔ Patch minor damages – Fill small holes and cracks to create an even surface.
✔ Remove wall décor and fixtures – Take down paintings, signs, or any removable items.
✔ Ensure previous paint is not peeling – If you notice flaking paint, discuss it with your painting contractor for possible solutions.
✔ Consider priming – If you’re making a drastic color change, applying a primer first may be beneficial.
Step 4: Choose the Right Paint and Finish
Selecting the correct paint and finish will impact both appearance and durability:
✔ Confirm color choices in advance – Finalize your preferred shades to avoid last-minute decisions.
✔ Consider low-VOC or eco-friendly options – These paints improve indoor air quality and reduce fumes.
✔ Select the correct finish:
Matte/Flat – Hides imperfections in low-traffic areas.
Satin/Eggshell – Offers durability and a soft sheen, ideal for offices.
Semi-Gloss/Gloss – Best for high-traffic areas that require easy cleaning.
Step 5: Notify Employees, Customers & Stakeholders
Communication is key to avoiding confusion and disruptions:
✔ Send internal emails or memos – Notify staff about workspace adjustments and expectations.
✔ Inform customers in advance – Post signs or send digital alerts about temporary closures or alternate entrances.
✔ Coordinate with tenants or other businesses – If sharing space, inform neighbors about the project timeline.
✔ Discuss security access with painters – Arrange key access if painting occurs after business hours.
Step 6: Ensure Safety & Compliance
Safety should be a priority during the painting process. Here’s how to prepare:
✔ Ventilate the space – Ensure fresh air circulation, especially when using solvent-based paints.
✔ Post wet paint signs– Prevent accidental contact with freshly painted areas.
✔ Confirm proper licensing and insurance – Work only with insured painters to avoid liability issues.
✔ Use non-toxic and fire-resistant paints if required – Verify compliance with building codes and safety regulations.
Step 7: Conduct a Final Walkthrough Before Painting Begins
Before the painting crew arrives, take a final check to ensure everything is in place:
✔ Double-check that all valuable assets are covered or removed
✔ Confirm clear access for painters
✔ Review color selections and finishes
✔ Discuss any last-minute concerns with the painting team
✔ Approve the work schedule and estimated completion timeline
Bonus: Post-Painting Care Tips
✔ Allow proper drying time before moving furniture back
✔ Ventilate the area to reduce paint fumes
✔ Use gentle cleaning methods on newly painted walls
✔ Schedule regular touch-ups for high-traffic areas
Why Choose Paintzone for Commercial Painting in Seattle?
✅ Licensed & Insured – We comply with all Seattle regulations and industry standards.
✅ Minimal Downtime – Our efficient team works swiftly to reduce disruptions to your business.
✅ High-Quality Materials – We use only top-tier, commercial-grade paints.
✅ 100% Satisfaction Guarantee – We stand behind our work and ensure outstanding results.
✅ Serving Seattle & Greater Seattle Area – Local expertise that understands Seattle’s business environment.
Get a Free Quote for Your Commercial Painting Project Today!
Ready to refresh your business with a professional paint job? Contact Paintzone today for a free consultation and quote. Our expert painters in Seattle and the Greater Seattle area ensure a high-quality, hassle-free commercial painting experience.
📞 Call us at 206.899.5154 or 📩 Fill out our online form to get started!
Hire a Professional Painting Contractor
We may use AI tools to help draft and edit our articles, and we check every fact before we publish. If something looks wrong, please write to us at [email protected].